top of page

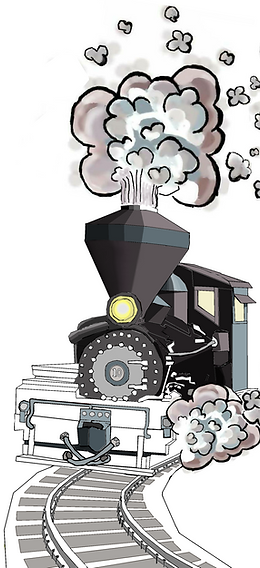
Williams Choo Choo

Wagon Final for Web

I'm a title
I'm a description. Click to edit me
Williams Choo Choo
1/7
The following six illustrations demonstrate the creative process involved in drawing the railroad rails.


I started with the steel rails which gives me the proper perspective. Then begin laying out the wood ties that will eventually be underneat the steel rails.

Once rails are on top of the ties, then it's time to put in the rail nails. Two rail nails on either side of each rail and centered on the Tie.


The next step is putting in the rock or aggregate that the rail road ties are burried within. The easiest way to illustrate aggregate is to go online and pick a couple of pictures of aggregate. Then simply cut and paste or clone inbetween the RR Ties.
bottom of page